Cooking and Eating with the Seasons
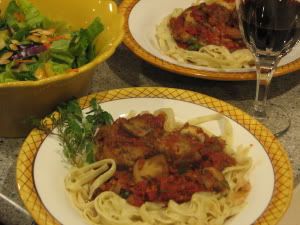
There’s not much to a basic marinara sauce: Tomatoes cooked down with onion and garlic, then seasoned with salt, pepper and herbs. In summer, a fresh tomato sauce doesn’t go much beyond that. Moreover, it’s kept light by cooking only briefly and using sweet onions, fresh garlic and fresh basil.
Colder weather calls for a heartier sauce, not to mention that sweet onions and fresh basil are long gone. Hence my idea for a more savory, longer simmered sauce with regular winter storage onions, roasted garlic, a little red wine, some sausage meatballs and mushrooms, all topped off by hardier herbs like fresh thyme, oregano and parsley.
A Note About Time: Making a long-cooking savory marinara is more akin to ritual than fast everyday meal making. As probably any good Italian grandma will tell you, there’s no rushing a good marinara. So I allow it to be an evening or weekend project, something done piecemeal, while cooking a different dinner or puttering around the house. The fact that it may not be done for dinner is a good thing. Tomato sauces always taste better the second day.
Serves 6-8 (since of course you’ll want leftovers)
Step 1: Puree and Cook the Tomatoes
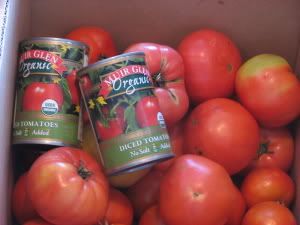
It all starts with the tomatoes. No matter how skilled a cook you are, a marinara will be only as flavorful as the tomatoes that go into it. So start with the best, which generally means heading to the garden or farmers market.
Fresh tomato marinara takes a lot of tomatoes, about 6 to 8 pounds. Don’t be surprised at how many tomatoes that comes out to. Remember, once the water is cooked out, there’s not much left.
Scoop out stems, cut roughly into halves or quarters, then process in the food processor until pretty smooth. Save time and don’t bother peeling; the skins just get chopped up, too.
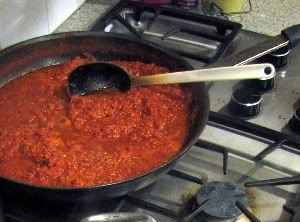
Cook the puree in a BIG, flared side sauté pan until it is no longer runny, but thick and rich. This may take as long as 2 or 3 hours; which is why this is a good evening or weekend project. Go ahead and fix a different dinner and prepare all the other ingredients while the puree cooks.
*
*
*
*
Step 2: Roast the Garlic
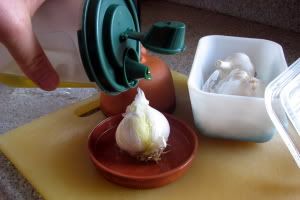
Garlic is easy to roast. Just dribble a little olive oil (about 1/2 Tbsp.) over each head, rub it all over, then pop in a small, lidded baking dish and bake at 350 (F) for 45-60 minutes.
While a small terra cotta garlic roaster is nice, I often use a small baking dish so I can roast 3-4 heads at a time. Roasted garlic keeps for a week or so in the frig, so why not keep some extra on hand for the wonderful flavor it adds to most dishes.
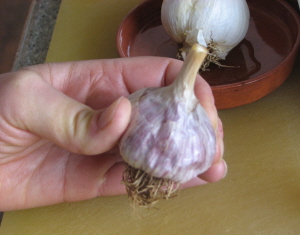
You’ll know the garlic is done when it feels squishy and spongy when squeezed lightly. I throw in a head or two whenever I have the oven on.
*
*
*
*
*
*
Step 3: Cook and Puree Carrots
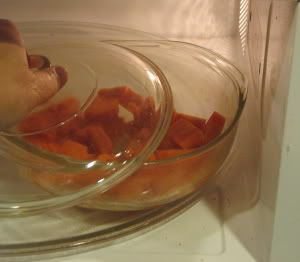
Pureed carrots are a Mary Addition to classic marinara. I like how their sweetness mellows the acidic taste of the tomatoes while adding valuable nutritional depth.
Cut carrots into 1/4″ thick half moons, then microwave with about 2 Tbsp. Imagine Vegetable Broth for 8 minutes (stirring twice during the cooking time.) Once cooked, puree in the food processor and stir into the sauce.
*
*
*
Step 4: Saute Onions
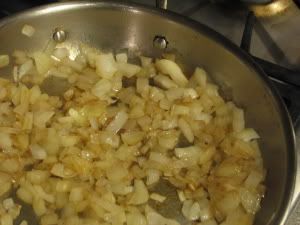
As always, warm about 1 Tbsp. olive oil in a saute pan before adding the diced onion. Cook and stir about 10 minutes, until they are nicely browned. Then reserve them in a bowl until the tomatoes are cooked down. This way, they don’t get cooked to death while the tomatoes simmer away their juices.
*
*
Step 5: Saute the Mushrooms
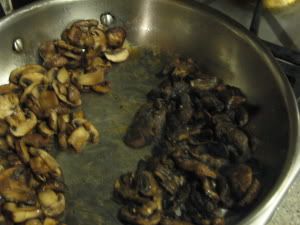
The same goes for the mushrooms. After sauteing, I reserved in a bowl until the tomato sauce is cooked down.
From the picture to the right, it may look like I’ve used two different kinds of mushrooms, but they are all cremini. The darker ones on the far right were just a couple weeks old when I finally found them in the frig. Although they were on the verge of rotting, my waste-not, want-not conscience made me use them up. Good thing. They were actually much richer-tasting than the pretty, light-colored mushrooms on the left that I had purchased that day.
Optional Step: Deglaze with Wine
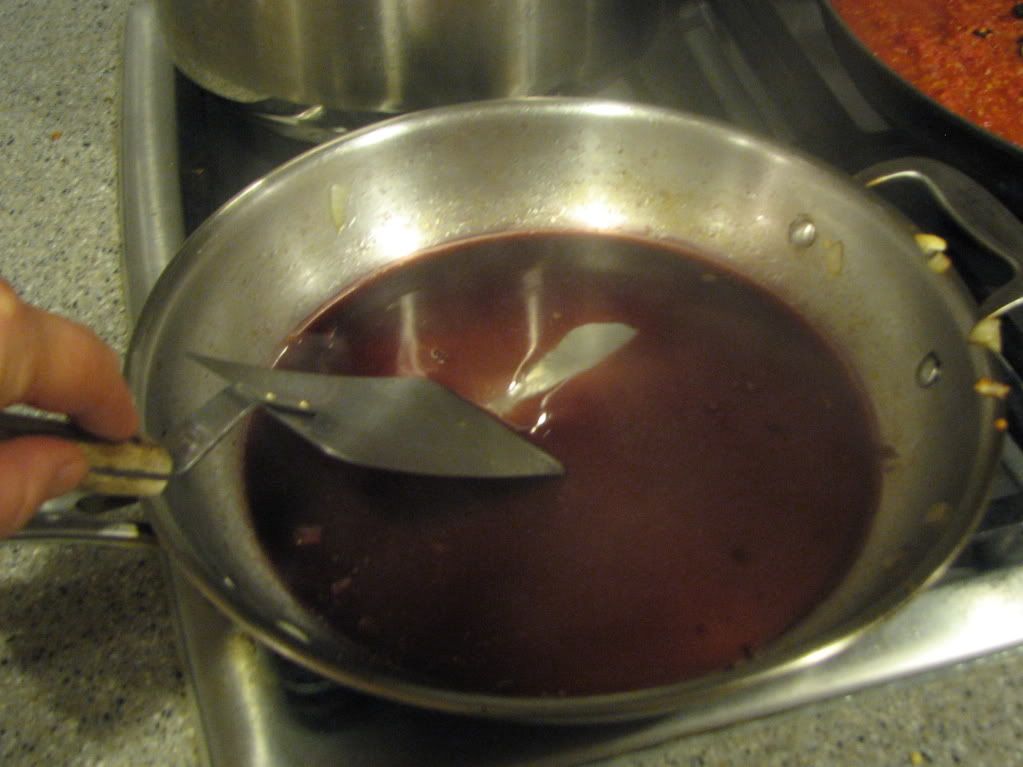
For a gourmet touch, deglaze the onion and mushroom sauteing pan with 1/2 cup good quality red wine. After scraping any bits and coatings from the bottom of pan, cook the wine a few minutes to reduce slightly, then add directly to the sauce.
*
*
*
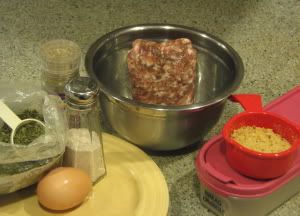
Step 6: Basic Meatballs
Like a basic tomato sauce, it’s good to know a basic meatball recipe. And like a basic tomato sauce, there isn’t much to basic meatballs: Meat, whole grain breadcrumbs, onion, egg, herbs and salt and pepper.
For this dish, I saved time and skipped the onion since I was using sausage which has plenty of flavor. Also, the sauce already contained a lot of onion.
The best way to mix meatballs? Knead everything together with your hands. It’s messy, but go ahead and form the meatballs while you’re at it. I size the meatballs small (about 1 1/2″), both to spread the meat further and so they cook through without burning.
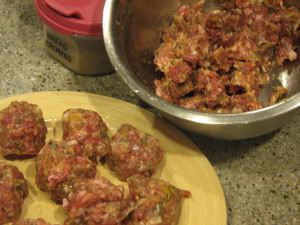
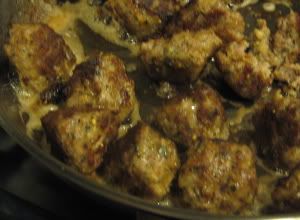
Once formed, fry the meatballs in the same pan used to cook the onion and mushrooms. No need to wash in between. The flavors just keep piling up.
I found a large soup spoon does the best job of turning each meatball without destroying its neighbor. Once done, I just turned off the heat and reserved until the sauce was done.
*
*
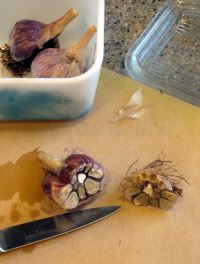
Step 7: Mash the Garlic
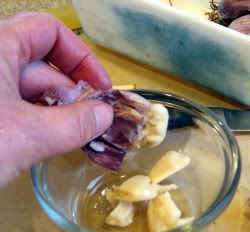
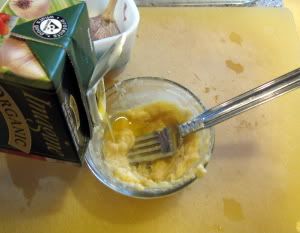
Once roasted, garlic turns soft and silky. Cut off the ends of the cloves and the pulp can be easily squeezed into a small bowl. Start mashing with a fork, then gradually add a little broth (2-4 Tbsp.) to thin so it can be stirred easily into the sauce.
*
*
*
*
*
*
*
*
*
*
*
*
Step 8: Season
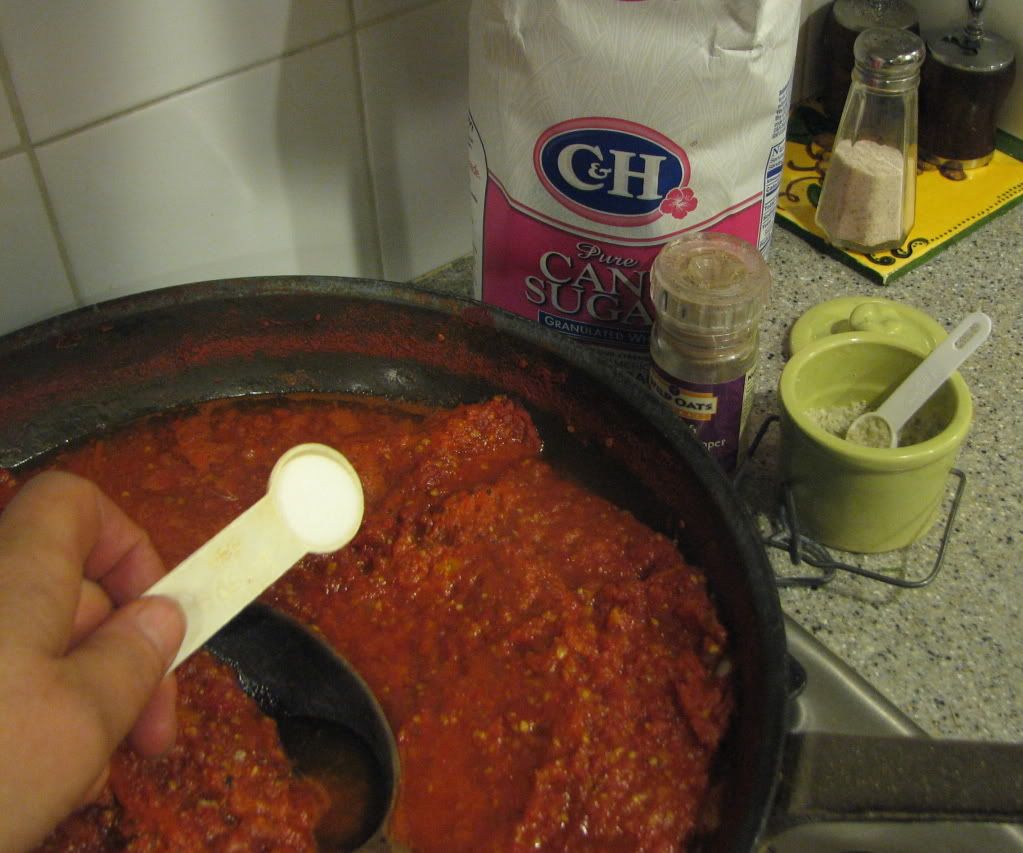
Stir in sea salt (I used Celtic salt) and freshly ground pepper, to taste. If in doubt, start small. More can be added at the end, after all the other ingredients are added. This is also one of the few times when I use white sugar, just a teaspoon, to further “smooth out excess acidity,” as Joy of Cooking puts it.
*
*
*
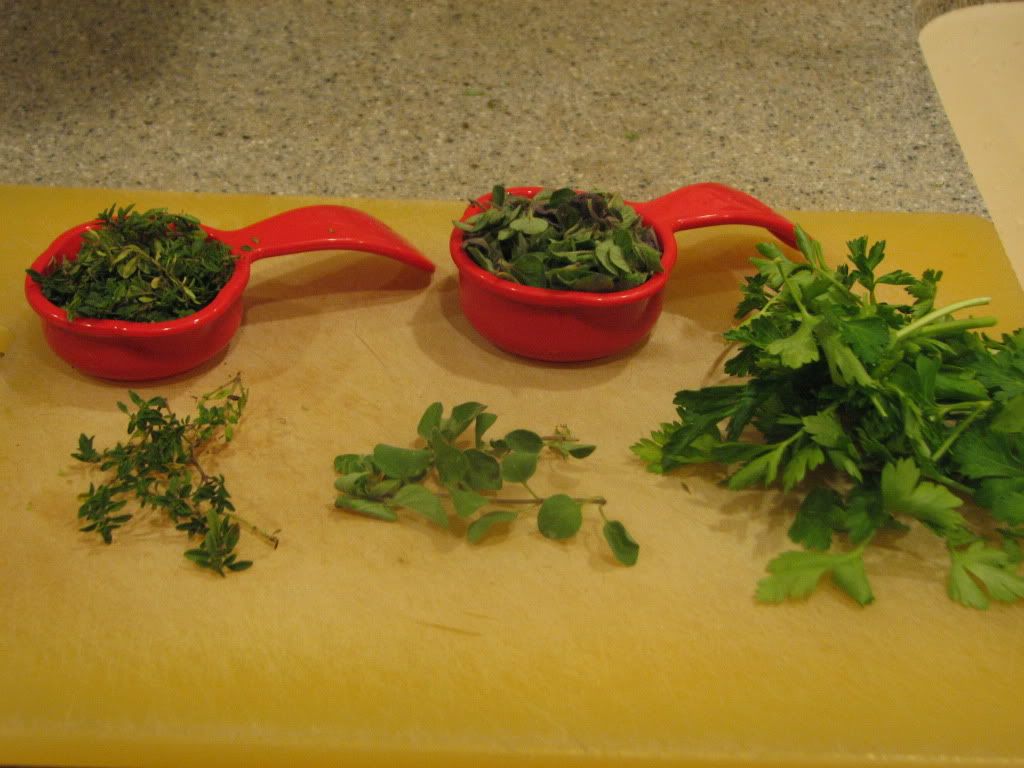
Step 9: Prepare the Herbs
Fresh herbs take a little more time than dried, but the flavor is worth it. Hold the top end of each stem with one hand and with the other hand, strip the leaves from the bottom part with the thumb and index finger. The idea is to eliminate the tough parts of the stem. The small thin tops of each stem aren’t a problem. Chop everything until fairly small.
*
*
*
*
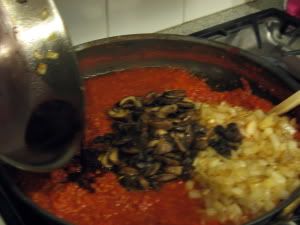
Step 10: Put It All Together!
Now comes the fun part. By the time you’ve cooked dinner and prepared the other ingredients, the tomatoes should be cooked down to a thick, rich sauce—like the stuff you buy in jars. Now dump in the onion, mushrooms, meatballs and roasted garlic. (The pureed carrots and wine, if using, should already be in there.) Stir everything together well, and continue simmering for about 5-10 minutes.
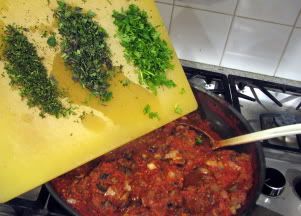
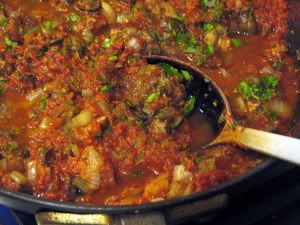
Not until now, when you turn off the heat, should you stir in the fresh herbs. They shouldn’t be cooked much to better preserve their bright, fresh flavor.
By now, you’re surely tired! So put the lid on your sauce and put it in a cold place. I have an outdoor shed that makes a perfect winter refrigerator. Of course the sauce can also be stored in a regular refrigerator, but cool it completely first. It’s hard on a refrigerator—and uses a lot of energy–to cool a hot dish.
The hard work will pay off. As the sauce sits all night, the flavors will meld and you’ll be set for a super easy, super delicious seasonal meal the next night. Enjoy the passing of the season.
P.S. Gluten Free? No Problem
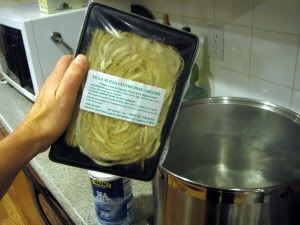
In addition to the many brands of dry gluten-free pasta (Tinkyada being my favorite), Longmont-based Villa Bozza now makes fresh, gluten-free pasta for a special treat. Find it in the Denver metro area at select Whole Foods and King Soopers stores, and at several farmers markets.
It’s a year later, but I followed your instructions, & it turned out great!
It’s never too late to start. I like to think of good eating as a journey, and I have my whole life to travel it. Stretches out the fun!