Transform throw away crusts into kitchen gold
The previous post talked about “breading,” an easy building block cooking technique used to create dozens of different, interesting dishes. Get ready to start experimenting with this technique by making your own breadcrumbs. Save money by using up old crusts and stale bread that would otherwise go to waste. Help the environment by keeping food out of landfills, where it produces methane, a far worse contributor to global warming than carbon emissions.

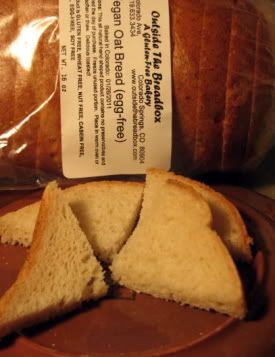
Start with Whole Not Half Healthy breadcrumbs can only come from healthy bread, and that means bread made from 100% whole grains, like whole wheat, oats, brown rice and millet. In the ingredient listing for a bread, the single word “wheat” is code for “white flour.” Skip that brand and look for one made entirely from whole grains. Whole grains are so delicious and nutrition rich; why waste money on breads made with half grains, especially when it’s the halves with all the calories and few of the nutrients that go with them!
Gluten Free Good news for gluten free eaters: You can use gluten free bread for crumbs. Be sure it’s whole grain, like Food for Life’s Millet Bread which makes really flavorful crumbs.

Act Ahead Don’t wait until preparing a breaded dish to make the breadcrumbs. Then you’ll be saddled with the extra step of a toasting them in the oven to dry. Instead, weave the process into your normal kitchen routine. Here’s an example:
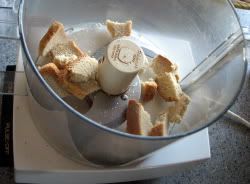
- Whenever you end up with a crust or two, simply toss them in the food processor.
- Process the crumbs when, e.g., you’re next unloading the dishwasher. Push the button and unload the glasses. Once the bread has been transformed into crumbs, dump them on a plate. Put the plate on top of, e.g, the microwave.
- Give the crumbs a stir or two over the next couple days to make sure the bottom ones get exposed to air.
- Then, while heating something in the microwave, pour the dried crumbs (make sure they are completely dry) into a storage container; put the plate in the dishwasher.

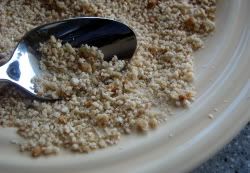
Now you’ve got large crumbs to use for gratin toppings, in meatloaf and meatballs, etc. To use crumbs for breading, I recommend one additional step:
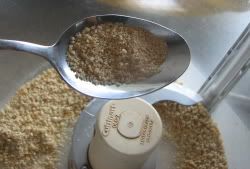
The Fine Grind Breading works best when the crumbs are very fine. They do a better job of sticking to the food and creating an even, solid coating. That’s why flour and cornmeal are such good breading ingredients. Breadcrumbs can be made into a perfect breading ingredient by simply running them through the food processor again, after they are dried the first time. I wait and do this when I’m making a dish, and only fine grind as much as I need, leaving larger crumbs for other uses.

No Food Processor? An immersion blender with a chopper attachment is a good, and much less expensive, alternative. If that option isn’t available, there’s always a rolling pin. In the days before all our specialized electric appliances, we broke crusts into large pieces, dried them and then crushed with a rolling pin. Putting them inside paper or plastic bags minimized the mess.
Ready to do experiment with breading? Check out the next post on Breaded Eggplant with Herbed Tomato Topping, which makes use of plentiful late summer and early autumn produce.
1 thought on “How to Make Healthy, Whole Grain Breadcrumbs”